HVAC installation is one of those home projects that can quietly go very right…or very wrong. Once the system is in, you’re stuck with the results for 10–20 years. So a solid HVAC installation checklist isn’t “nice to have.” It’s how you protect your comfort, your energy bills, and your sanity.
This guide walks through a practical, SEO-friendly HVAC installation checklist you can actually use when talking to contractors—and flags where to pay extra attention if you care about an energy-efficient HVAC system, not just “something that blows air.”
Quick-Scan HVAC Installation Checklist (At a Glance)
Before diving into details, here’s what you should confirm with any installer:
- Manual J load calculation completed and shared
- Ductwork inspected, sized, and sealed as needed
- Equipment type chosen to support energy-efficient HVAC goals
- Proper permits pulled and local code requirements met
- System commissioned: airflow, charge, and controls tested and documented
If even one of these is missing from a quote, you’re not comparing apples to apples.
Step 1: Pre-Installation Planning (Where Most Homeowners Lose)
Most bad installations start with bad planning. No surprise there.
1.1 Confirm the System Type
Ask which system makes sense for your home and climate:
- Central air conditioner + furnace
- Heat pump (air-source or cold-climate)
- Ductless mini-split system
- Hybrid system (heat pump plus gas furnace backup)
If your priority is energy-efficient HVAC, push the contractor to explain why they recommend that specific type, not just what’s on the truck today.
1.2 Get a Real Load Calculation (Not a Guess)
A proper HVAC installation checklist always starts with a Manual J load calculation. No exceptions.
Your contractor should:
- Measure or confirm square footage
- Check window type, insulation level, and orientation
- Consider local climate and number of occupants
- Use software or a recognized method—not “we always put a 3-ton in houses this size”
If they size equipment based on the old system or a rule of thumb, that’s a red flag. Oversized units are the enemy of comfort and efficiency.
1.3 Discuss Energy Goals Upfront
Spell out what you care about:
- Lower energy bills
- Better humidity control
- More even temperatures room-to-room
- Quieter operation
That’s where energy-efficient HVAC features come in—variable-speed blowers, higher SEER2/HSPF2 ratings, zoning, or smarter controls. Make sure these goals show up in the design, not as an afterthought.
Step 2: Ductwork – The Most Ignored Line in the HVAC Installation Checklist
You can’t have an efficient system with terrible ducts. Period.
2.1 Inspect Existing Ductwork
Have your contractor:
- Look for disconnected or crushed ducts
- Check duct sizing for key runs
- Identify supply/return imbalances (rooms with pressure issues)
- Note ducts in unconditioned spaces (attic, crawlspace, garage)
A good HVAC installation checklist will include duct repair or modification as a separate line item, not just “new unit.”
2.2 Seal and Insulate Where It Counts
For true energy-efficient HVAC performance, ask about:
- Mastic or approved tape for sealing joints
- Duct insulation where ducts run through hot or cold spaces
- Adding returns in starved areas for better airflow
Skipping this is like installing a high-end shower and then drilling holes in the pipes. All that efficiency leaks out before it reaches you.
Step 3: Choosing the Right Equipment (Beyond Brand Names)
Brand matters less than design and installation quality. Here’s what should actually be on your HVAC installation checklist.
3.1 Efficiency Ratings That Matter
Ask for and compare:
- SEER2 – cooling efficiency
- EER2 – efficiency in high-load conditions
- HSPF2 – heating efficiency for heat pumps
- AFUE – furnace efficiency (gas/oil systems)
For energy-efficient HVAC, you’re generally looking for units that meet or beat current ENERGY STAR minimums for your region, but not always the absolute highest tier if payback doesn’t make sense.
3.2 Single-Stage vs Two-Stage vs Variable-Speed
Decide how you want the system to behave:
- Single-stage: On or off. Cheapest, but least refined.
- Two-stage: Better comfort, longer run times, improved dehumidification.
- Variable-speed: Top-shelf comfort and energy performance, often ideal for energy-efficient HVAC setups.
If humidity or hot/cold spots drive you crazy, pushing for two-stage or variable-speed can be worth the upfront cost.
3.3 Smart Controls and Zoning
Good items to include on your HVAC installation checklist:
- Smart thermostat (and compatible equipment)
- Zoning for multiple floors or problem areas
- Thermostat location (not in direct sun or near vents)
Controls are where you “steer” your system. If energy-efficient HVAC is the goal, smart scheduling, setbacks, and zoning are powerful tools.
Step 4: Permits, Codes, and Safety Checks
This isn’t glamorous, but it’s non-negotiable.
4.1 Verify Permits
Your checklist should include:
- Permit pulled with the local authority, where required
- Inspection scheduled after installation
A contractor who avoids permits is usually cutting corners elsewhere too.
4.2 Safety and Code Compliance
Ask how they’re addressing:
- Electrical sizing and disconnects
- Condensate drainage (pumps, traps, routing)
- Combustion air and venting (for fuel-burning systems)
- Clearance from combustibles and service access
You don’t have to be an expert—but you can insist that someone on the team is.
Step 5: Installation Day Checklist
This is where planning either shines or collapses. You don’t need to hover over the crew, but you do want to spot obvious misses.
5.1 Before They Start
Confirm:
- Equipment model numbers match the proposal
- Thermostat type is what you agreed on
- Duct modifications are included and noted
Take a couple of quick photos of the old setup for reference.
5.2 During Installation
Watch for these basics:
- Outdoor unit has proper clearance
- Line sets routed cleanly and protected where needed
- Duct connections sealed, not just taped loosely
- Filter access is convenient, not buried
If something looks sloppy now, it won’t magically get better later.
Step 6: Commissioning – The Most Overlooked Checklist Item
Commissioning is the difference between “installed” and “working as designed.”
Your HVAC installation checklist should explicitly include:
- Measuring supply/return airflow
- Checking static pressure in ductwork
- Verifying refrigerant charge per manufacturer specs
- Confirming thermostat operation and settings
- Testing safety controls and lockouts
Ask for a brief commissioning report or at least a walk-through of the readings. This is where energy-efficient HVAC performance is either locked in or left on the table.
Step 7: Post-Installation Walkthrough and Education
Don’t let the crew leave until you’re clear on the basics.
Your checklist here:
- Thermostat training (schedules, modes, basic troubleshooting)
- Filter size and replacement frequency explained
- Warranty terms and registration steps
- Recommended maintenance schedule
If the system is more advanced—variable-speed blower, zoning, or smart controls—make sure you understand what “normal” operation looks like. Sometimes a system running longer at lower speed is actually the efficient behavior, not a problem.
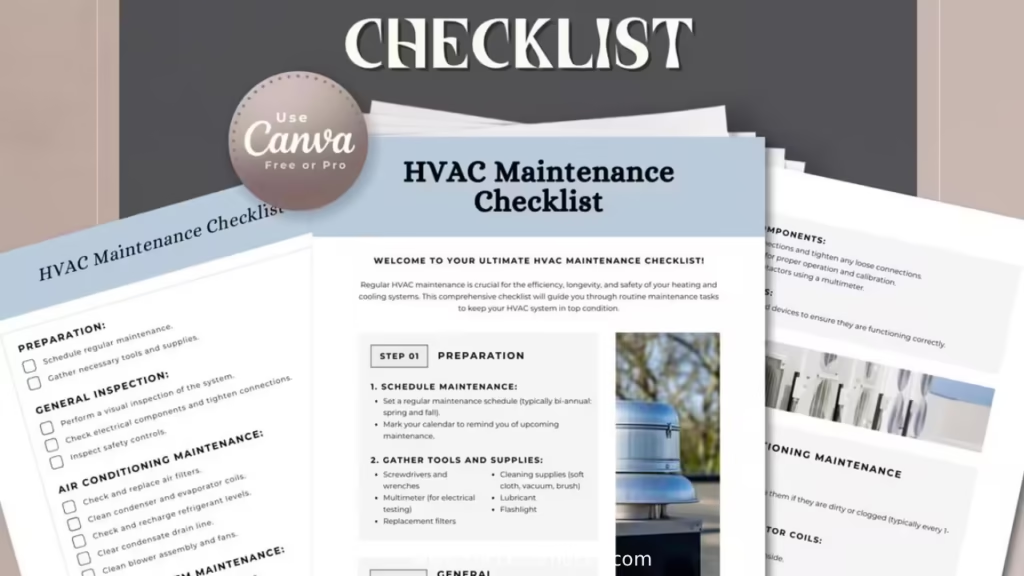
Year-One Mini Checklist (After Installation)
A simple follow-up checklist for the first year:
- Replace filters as recommended (often every 1–3 months)
- Visually check outdoor unit for debris or obstruction
- Keep supply and return vents unblocked
- Track your utility bills vs. last year to gauge actual impact
If your energy-efficient HVAC system isn’t delivering the comfort or savings you expected, get the installing contractor back to verify settings, airflow, and charge. Don’t just accept “it’s normal” without numbers to back it up.
Common Mistakes People Make During HVAC Installation
You can dodge a lot of headaches by spotting these early.
Mistake 1: Only Asking “What Brand?”
Brand does not fix bad design.
Better move: Ask, “How do you size and design the system?” and “What’s your commissioning process?”
Mistake 2: Ignoring Ductwork
New equipment on junk ducts = expensive disappointment.
Better move: Make duct inspection and sealing a mandatory line item on your HVAC installation checklist.
Mistake 3: Oversizing “Just in Case”
Oversized systems short-cycle, struggle with humidity, and waste energy.
Better move: Insist on a Manual J load calculation and be wary of significantly larger equipment unless there’s a clear reason.
Mistake 4: Skipping the Walkthrough
Homeowners often sign off without understanding the system.
Better move: Block 20–30 minutes at the end of the install for a full walkthrough and Q&A.
Putting It All Together: Your Working HVAC Installation Checklist
Use this as a quick reference when getting bids and scheduling your project:
- Manual J load calculation completed
- Duct inspection and needed repairs/sealing included
- Equipment efficiency ratings aligned with your energy goals
- System type (AC + furnace, heat pump, mini-split) clearly justified
- Smart thermostat and zoning considered where appropriate
- Permits pulled and inspections planned
- Installation details: clearances, line set routing, drainage, filter access
- Full commissioning documented: airflow, charge, controls, safety checks
- Homeowner training on operation, filters, and settings
- Warranty and maintenance schedule explained
Treat this checklist like a pilot’s pre-flight. Skip steps, and you’re trusting luck. Follow it, and you tilt the odds heavily in favor of a comfortable, efficient home for years.
If your next HVAC project needs to support a truly energy-efficient HVAC strategy, this checklist is your starting point. From there, it’s about choosing a contractor who respects every step as much as you do.
FAQs about HVAC Installation Checklist
1. Why is a load calculation important in an HVAC installation checklist?
A load calculation (usually Manual J) makes sure your new system is properly sized for your home’s actual heating and cooling needs. Without it, installers often oversize equipment, which leads to short cycling, higher bills, and poor comfort—especially if you’re aiming for an energy-efficient HVAC setup.
2. Should ductwork always be part of my HVAC installation checklist?
Yes. Even the best equipment will underperform if your ducts are leaky, undersized, or badly routed. Including duct inspection, sealing, and any needed resizing in your HVAC installation checklist is key to achieving consistent comfort and supporting an energy-efficient HVAC system.
3. What does “commissioning” mean on an HVAC installation checklist?
Commissioning is the process of testing and fine-tuning your new system after installation—checking airflow, refrigerant charge, static pressure, and thermostat operation. When done properly, it verifies that your system delivers the performance you paid for and helps your HVAC operate as an energy-efficient HVAC system instead of just “new equipment.”